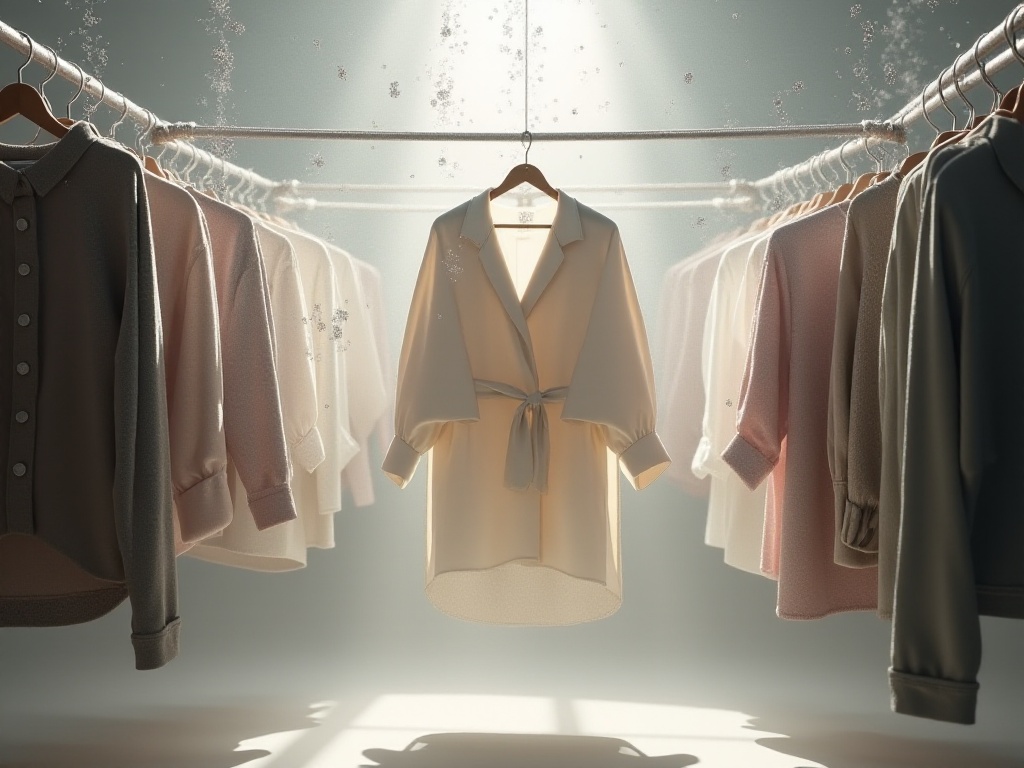

Doing laundry is an essential part of everyone's life, but if you find yourself struggling to match pairs of socks after each wash, it can be quite frustrating. Like an archaeologist, you dig and search through piles of clothes, only to find that one sock is forever missing its mate. This isn't just a minor issue - it can make you question your life skills. After all, if you can't even pair socks, how can you handle life's bigger challenges?
Sock Pairing

Using Mesh Laundry Bags
To be honest, I used to be just like you, spending half an hour matching socks after each wash. Looking at the messy pile of socks, I would wonder why washing machines couldn't automatically pair them. Then I discovered a brilliant solution - using mesh laundry bags for socks. Here's how: before washing, put all your socks in a dedicated mesh laundry bag. Remember, all of them! It's like giving them a protective suit to prevent them from getting "separated" in the washing machine. After the wash cycle, the socks remain together in the bag. See how simple pairing becomes? Just take them out of the bag and match them up.
The beauty of this method is that it not only saves you from the hassle of matching socks but also protects them from excessive wear. Imagine never having to search through drawers for matching socks again - it's truly an art of living. You can listen to music while easily taking socks out of the bag, matching them, and neatly arranging them in your closet. This lifestyle rhythm brings incredible ease and joy.
I remember when a friend visited my home and saw how I washed socks this way, she was amazed. She told me she used to spend so much time matching socks after each wash, often giving up on some socks and jokingly calling herself a "single sock owner." After trying this method, she not only saved time but also found the laundry process more enjoyable. Each time she finished laundry, it was like going on a "sock adventure," but with a happy ending.

Preventing Color Fading
Color fading is a nightmare for fashion enthusiasts, especially with beloved colored garments. After each wash, seeing them lose their original vibrant colors feels like having your heart emptied. You might wonder, why do my clothes seem to experience a great color escape after each wash?
Using Vinegar or Salt
To prevent color fading, we can use two common kitchen helpers - vinegar and salt. Add a cup of white vinegar during the rinse cycle, or half a cup of salt during the wash cycle - both help fix dyes. Why? Because vinegar's acidity helps dyes better adhere to fibers, while salt's penetrating properties reduce dye loss.
For example, if you've just bought new clothes, especially those with bright colors, try adding these ingredients during the first wash. White vinegar not only won't harm your clothes but will help maintain their bright colors. I once bought a red sweater I really loved, and when I added vinegar to its first wash, the color remained as vibrant as new, which made me very satisfied.
I personally love this method because it's environmentally friendly and keeps clothes looking new. Each time I open the washing machine and see clothes still vibrant in color, I feel satisfied, as if I've given them protective armor against the various chemicals in the washing process.
Maintaining Sweater Shape
Sweaters are winter essentials, but it's heartbreaking when they lose shape after washing. You might think, it looked fine on the hanger, so why did it change after washing? How can we maintain a sweater's original shape?
Flat Drying
Flat drying is key to protecting a sweater's shape. After washing, gently squeeze out excess water, then lay it flat on a dry towel, restoring its original shape. Next, roll up the towel to press out remaining moisture, then lay it flat to dry.
This method not only maintains the sweater's original shape but also prevents gravity-induced deformation. I remember washing a favorite sweater once, and after drying it this way, its shape remained perfect, looking just like new when worn. After each wash, you can see it restore to its original beauty, like embracing winter's warmth when worn.
Removing Shoe Odors
Shoe odor bothers many people, especially in summer when sweat and bacteria seem to throw a party in your shoes. You might find that every time you put on shoes, the foot odor hits you in the face, which is really embarrassing.
Using Desiccants or Baking Soda
Placing dryer sheets or baking soda in shoes to absorb odors is a good choice. Specifically, after taking off shoes, put a dryer sheet or sprinkle some baking soda inside and leave overnight to remove most odors.
I particularly like using dryer sheets because they not only remove odors but also leave shoes with a light fragrance, as if they've been carefully dressed up. I remember attending an outdoor gathering once wearing new shoes, but due to hot weather, they quickly developed an odor. After returning home, I immediately used this method, and the next day when I put them on, the odor was notably reduced and replaced with a fresh scent, giving me confidence to go out.

Reducing Static Electricity
Static electricity is a common winter problem, especially when you put on that favorite dress and suddenly find it "sticking" to your body, which is really annoying. You might feel like your clothes aren't behaving, and you have to struggle to "peel" yourself away from them.
Using Metal Hangers or Aluminum Foil
A simple method is using metal hangers or aluminum foil to reduce static. Before putting on clothes, lightly run a metal hanger along the inside, or place an aluminum foil ball in the dryer, both effectively reduce static.
I find this trick very useful, especially in dry winter weather, when putting on clothes no longer gives that "electric spark" feeling. I remember once wearing a new wool skirt with so much static it was almost unwearable. After a friend told me this trick and I tried it, the effect was immediate, and I never worried about static problems again.
Removing Fabric Pills
Fabric pilling is something many people hate, especially on well-worn sweaters or knits, not only affecting appearance but making you feel less put-together. You might think, this garment was new, how did it get so "old" looking?
Using Razors or Fabric Shavers
Gently running a disposable razor or fabric shaver over pilled areas can remove those annoying balls. Remember to be gentle to avoid damaging the fabric.
I highly recommend this method because it's simple and can make your clothes look new again. I remember wearing a favorite sweater once and finding many pills before going out. After gently shaving them off, the sweater looked new and clean again, making me feel very presentable.
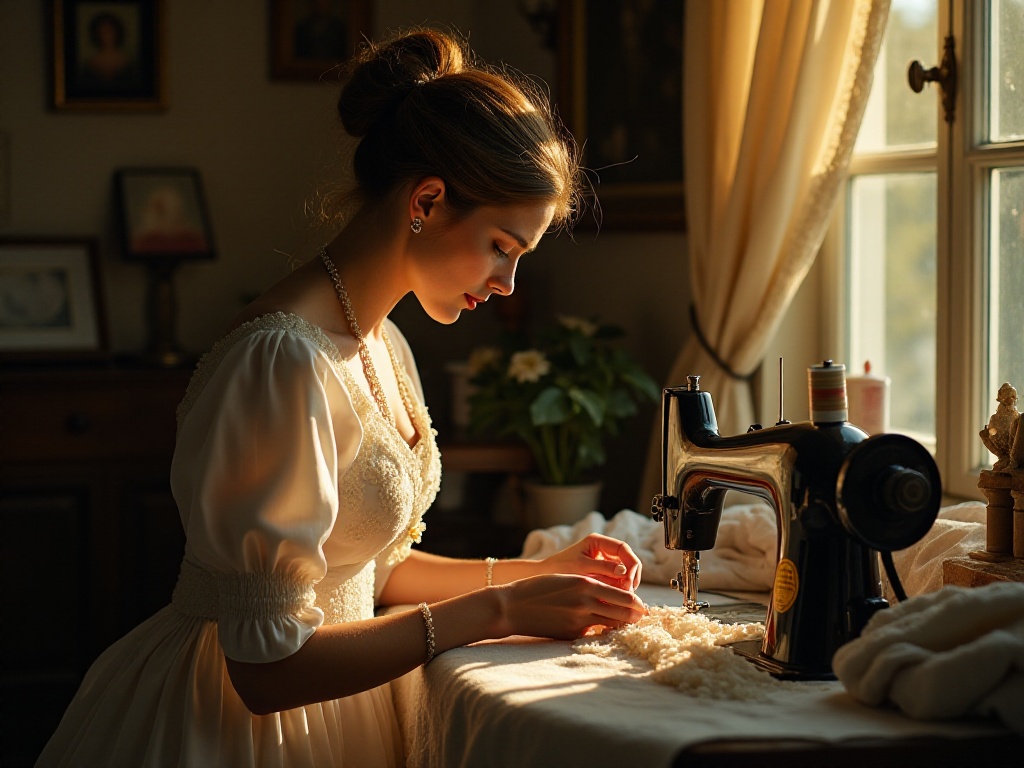
Securing Buttons
Losing buttons is annoying, especially when you need them most. Imagine preparing for an important occasion when suddenly a button falls off - it's truly a frustrating moment.
Applying Clear Nail Polish
Applying a layer of clear nail polish to button threads can secure them. Specifically, apply an appropriate amount of clear nail polish to areas where buttons tend to loosen, wait a moment for it to dry, and the buttons will be less likely to fall off.
I find this trick very practical, especially for clothes that frequently lose buttons. Once, I had a new coat whose buttons kept loosening, but after trying this method, the buttons stayed firmly in place and never fell off again.

Quick Ironing
Ironing is a headache, especially when you're in a hurry. You'll find that wearing wrinkled clothes looks neither attractive nor professional, so how can you quickly remove wrinkles?
Using Aluminum Foil to Reflect Heat
Place a layer of aluminum foil on the ironing board, shiny side up, to reflect heat and speed up ironing. Specifically, put the foil on the ironing board, then place your clothes on top - when ironing, the heat will reflect onto the clothes, making ironing faster and more effective.
I particularly love this method because it not only saves time but makes your clothes look more pressed. I remember rushing to attend a dinner party once with terribly wrinkled clothes and limited time. Using this method to iron, the clothes quickly became smooth as new, allowing me to leave on time.

Wrinkle Removal Tips
Wearing wrinkled clothes looks neither attractive nor professional, so how can you quickly remove wrinkles? Imagine preparing for an important meeting only to find your clothes as wrinkled as if they just came out of the washing machine - it's truly maddening.
Using Shower Steam
While showering, hang wrinkled clothes in the bathroom to use shower steam for removing wrinkles. This method is simple and eco-friendly, letting clothes "revive" in the steam and become smooth.
I find this method very useful, especially when you don't have time to iron. Clothes are like getting a mini sauna treatment, coming out renewed. I remember having an important meeting once with terribly wrinkled clothes and no time to iron. I hung them in the bathroom, used shower steam, and the clothes quickly became smooth, allowing me to leave confidently.
Stain Removal
Clothing stains are always frustrating, especially when you discover an oil stain or other difficult-to-treat marks. You might think, this garment was barely worn, how did it get so dirty?
Using Household Cleaners
For oil stains, directly apply dish soap to the stain, let it sit for a few minutes before washing. For tougher stains, mix baking soda and water into a paste, apply to the stain, let it dry, brush off, then wash normally.
I highly recommend this method because it's eco-friendly and lets you easily handle various stains at home, making clothes look new again. I remember once accidentally getting an oil stain on a white shirt - I immediately treated it with dish soap, and the stain disappeared completely, making the shirt clean as new.
Well, friends, these are all the clothing care and maintenance tips I'm sharing today. I hope these methods help solve some of your daily troubles and make life easier and more enjoyable. If you have other tricks or questions, feel free to share or ask in the comments section, and we can discuss life's little wisdom together. Remember to follow us - next time we'll explore how to make small spaces at home more organized and practical.
Related articles